
Genius Relay
Overview
Genius Relay is created to meet the needs of clients that desire having the whole Genius Platform in Cloud, and of those who have many remote locations connected to the head office using WAN connections.
Service Providers and enterprises can offer their clients, business units and third parties the Genius solution, which is available without installing the Genius Server in all their offices.
Genius Relay is ressource-efficient and can communicate with the Genius Server in (public or private) Cloud.
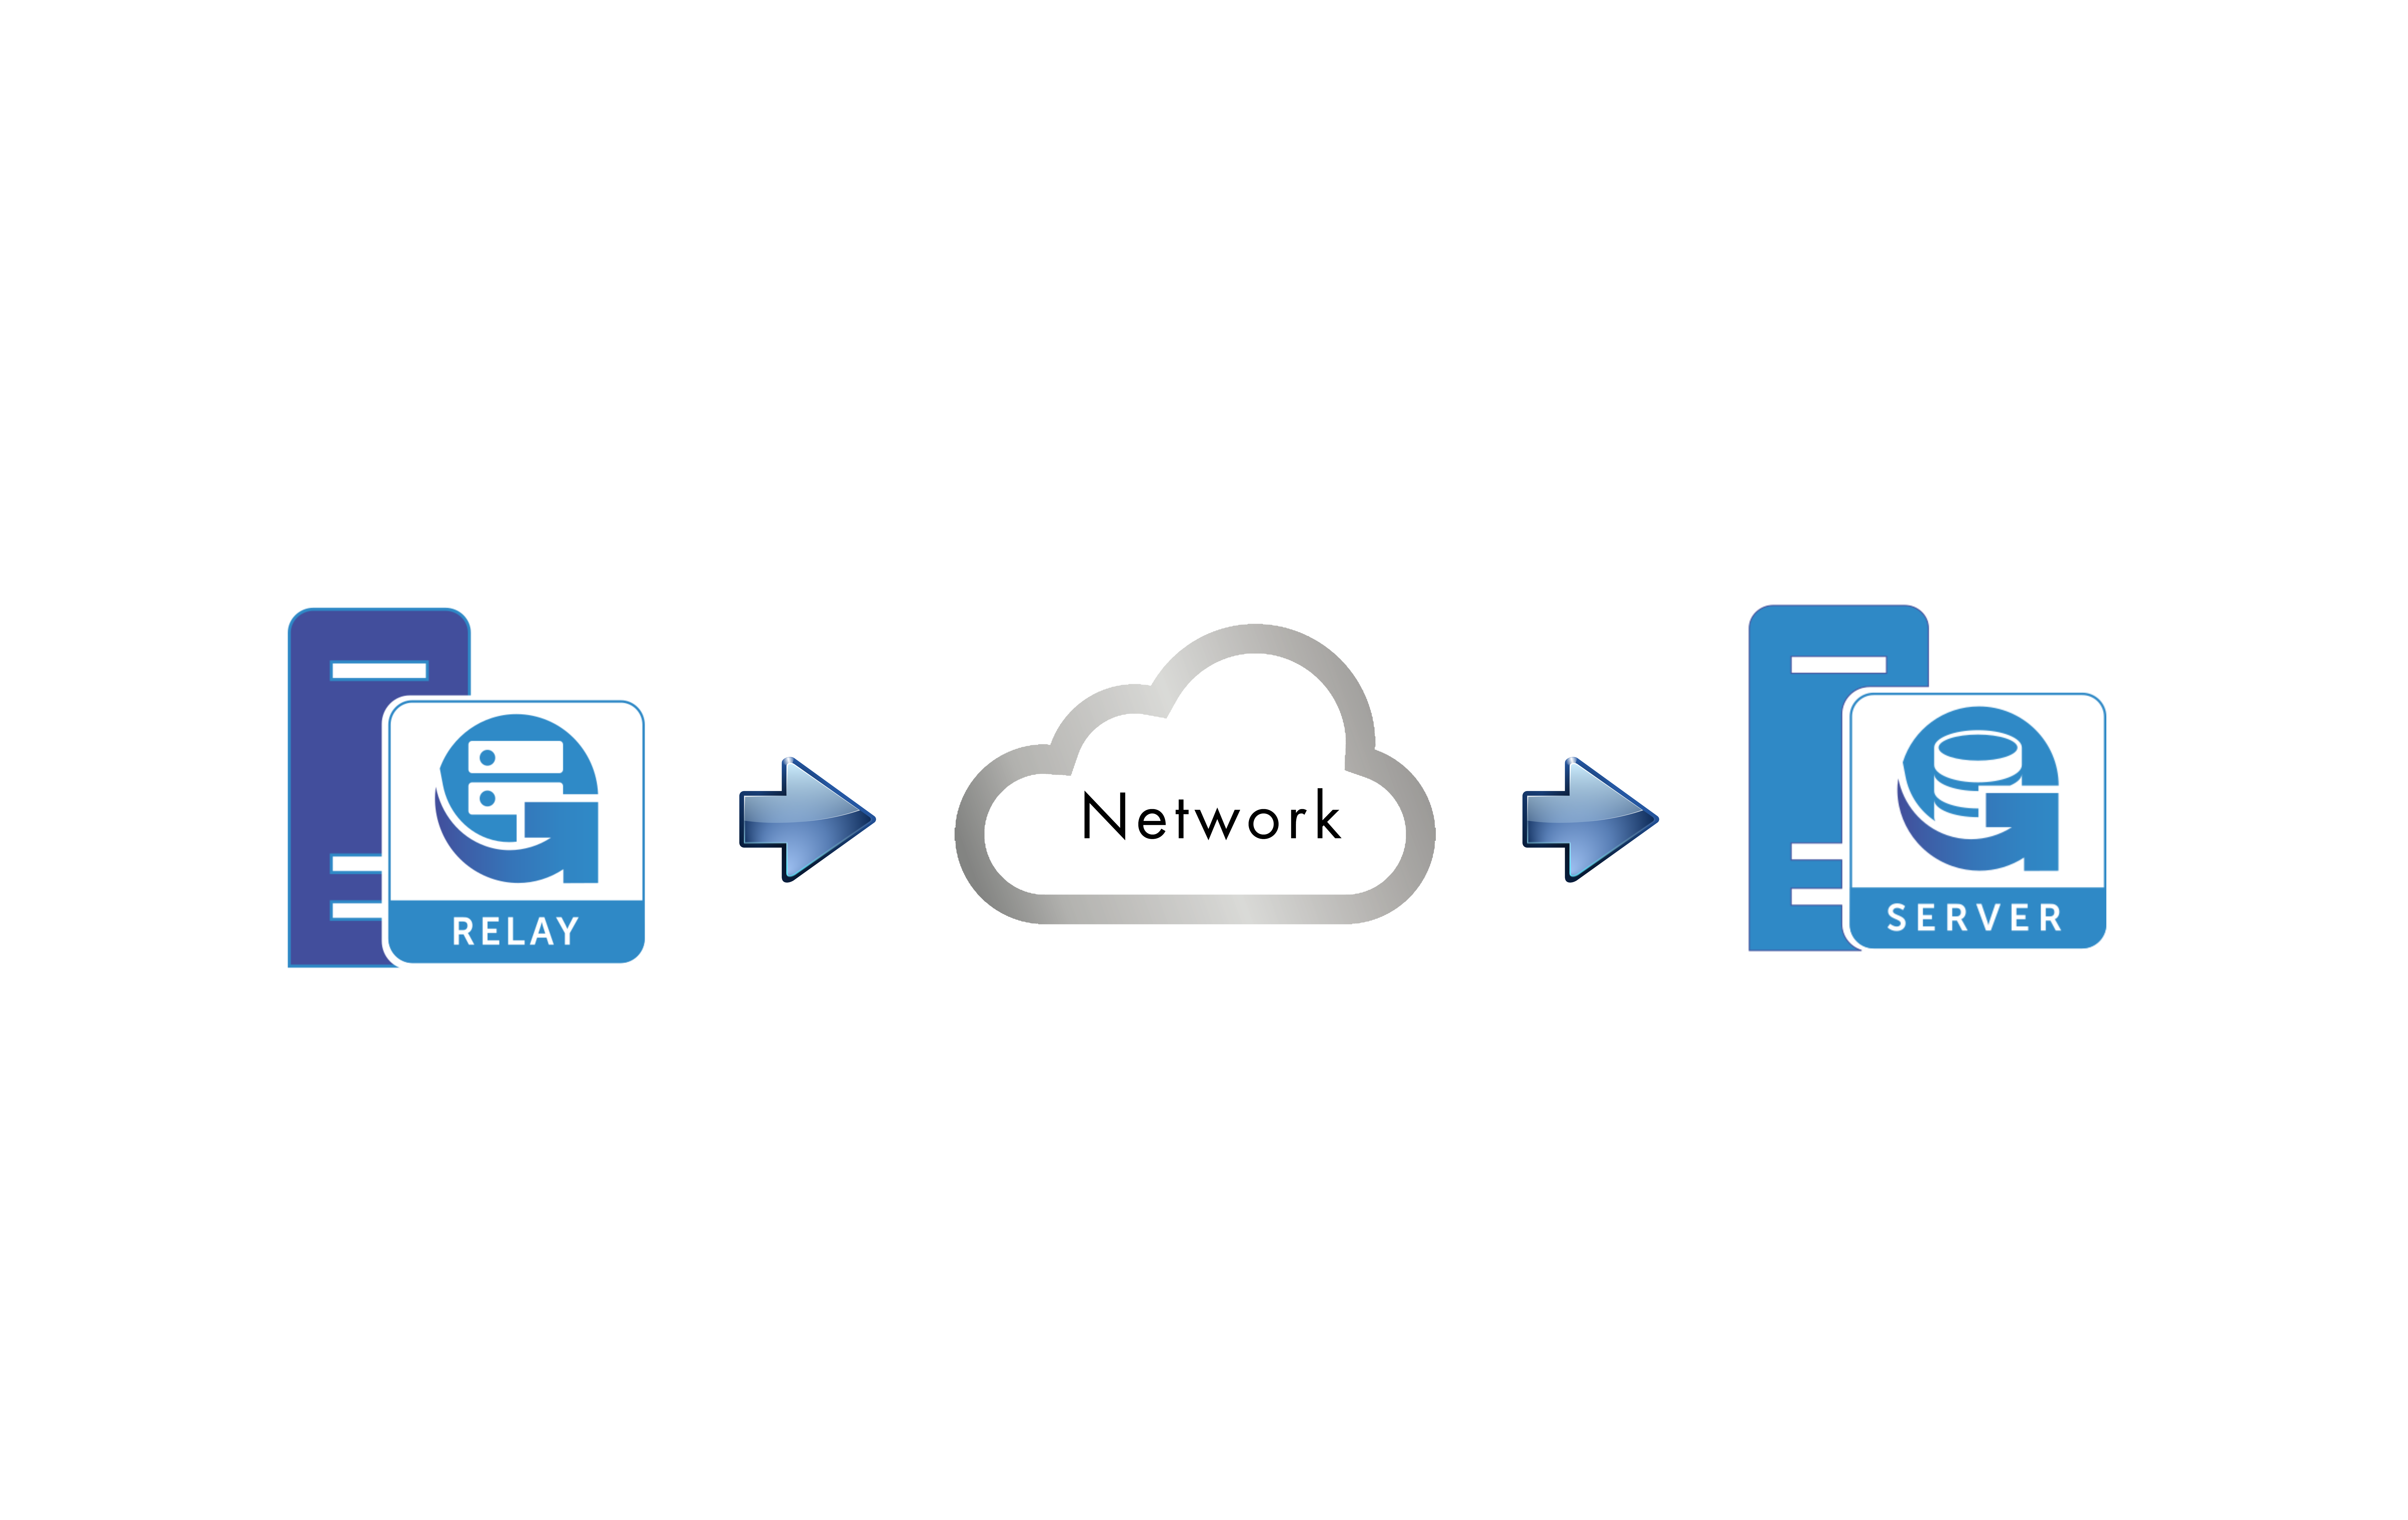
Genius Relay is a software which does not need an own database. It connects to one or more Genius Server establishing persisting Client-Server connections. Through these connections, Genius Server manages, monitors, and prints on printers and multifunction printers on which it is installed.
Genius Relay requires a working Hazelcast installation when more than one node is used in a cluster environment. Hazelcast is a Java framework which manages the in-memory data grid. See Hazelcast Overview for details.
There are two important scenarios in which the Genius Relay can be used:
service provider: Genius Server is installed on the service provider, and customers access Genius Server through the RELAY. The server does not have direct access to the customer network.
small offices: Genius Server is installed in the main office, and multiple relay are deployed on the other offices (1 per office).
The Genius Relay idea is simple, but the complexity is huge:
it is "cloud ready”, this means that, to reach the Genius Server, the relay needs to know its IP address, and the unique port that needs to be open is 5701 RELAY -> Genius Server.
The Zone Clustering has been extended. In fact, besides Genius Server zones, there are also relay zones, which are always friendly.
The Print Roaming/Federation Printing is implemented out of the box.
Genius Relay Installation
To install the Genius Relay, download the installer which matches your system from our download area. To obtain your account credentials, contact support@geniusbyte.com.
To start the installation process, complete the following steps:
Double-click on the installer.
Select the preferred language and press OK.
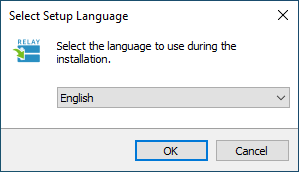
The installation wizard starts using the selected language.
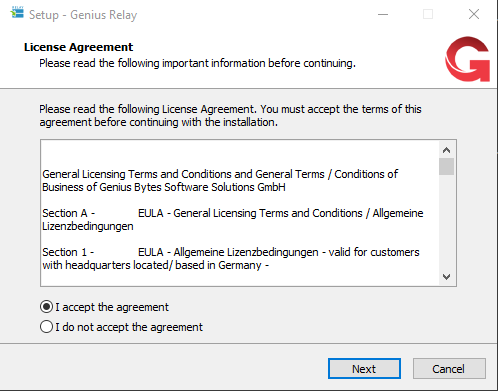
Read and accept the license agreement, to proceed. Press Next.
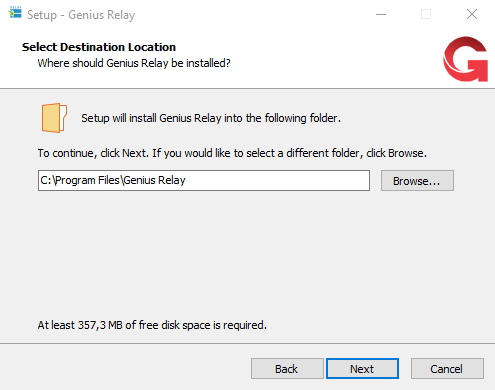
Confirm the installation path:
to change the path, press Browse..., choose the directory and then press Next.
to confirm the path press Next.
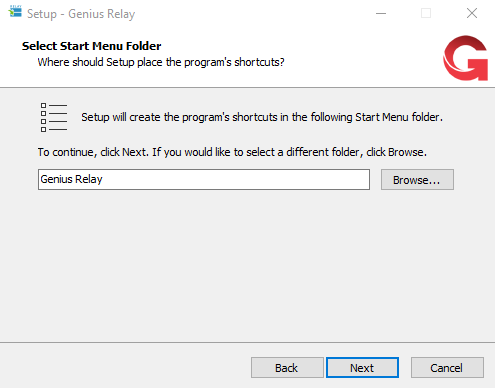
Confirm the folder to display in the Windows Start Menu:
to change the folder, press Browse.., choose the folder and then press Next.
to confirm the folder press Next.
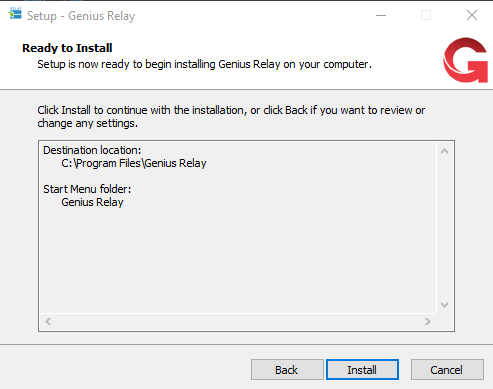
Make sure, everything is set as planned and press Install.
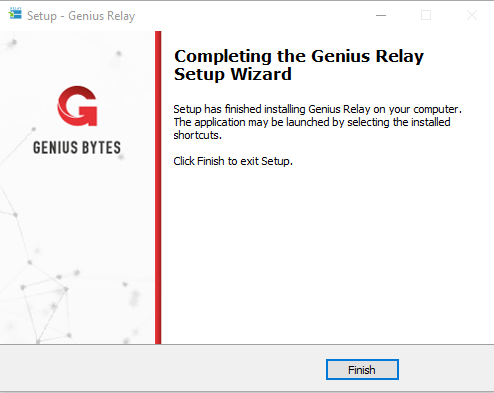
At the end of the installation, press Finish.
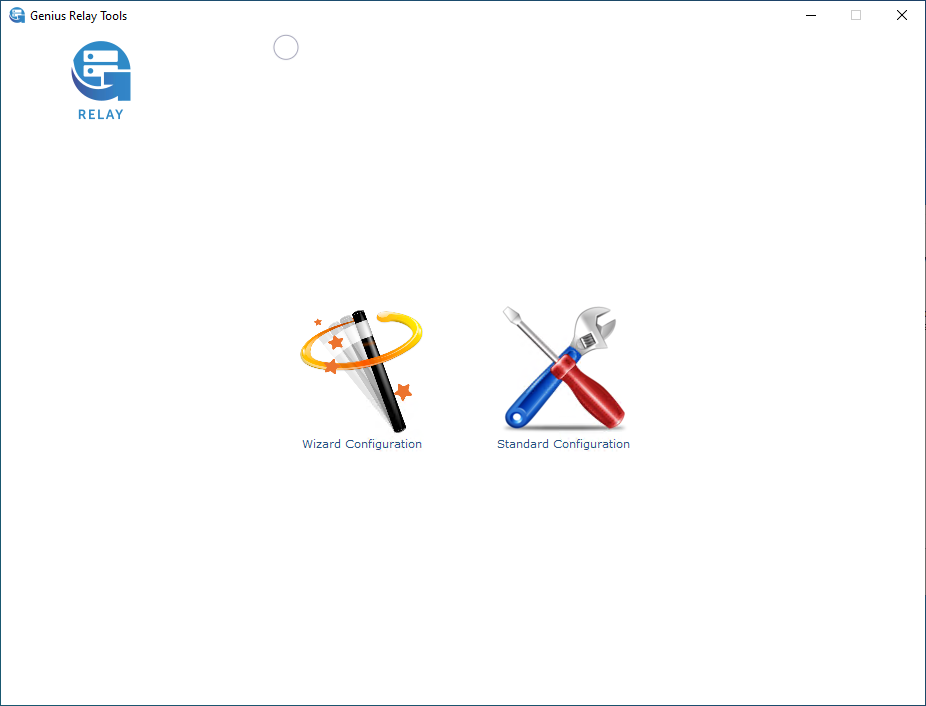
The configuration tool automatically opens. The configuration is explained in the next chapter.
Configuration
The Genius Relay can be configured:
for multiple customers, which are already routed to a different Genius Server cluster.
to send all print jobs to Genius Server (no storage).
to send only pull printing jobs to the Genius Server (short-term storage)
to locally keep all jobs (long-term storage). If the storage does not have enough space, through a fallback configuration, jobs are directly sent to the Genius Server.
To configure the Genius Relay, complete the following steps:
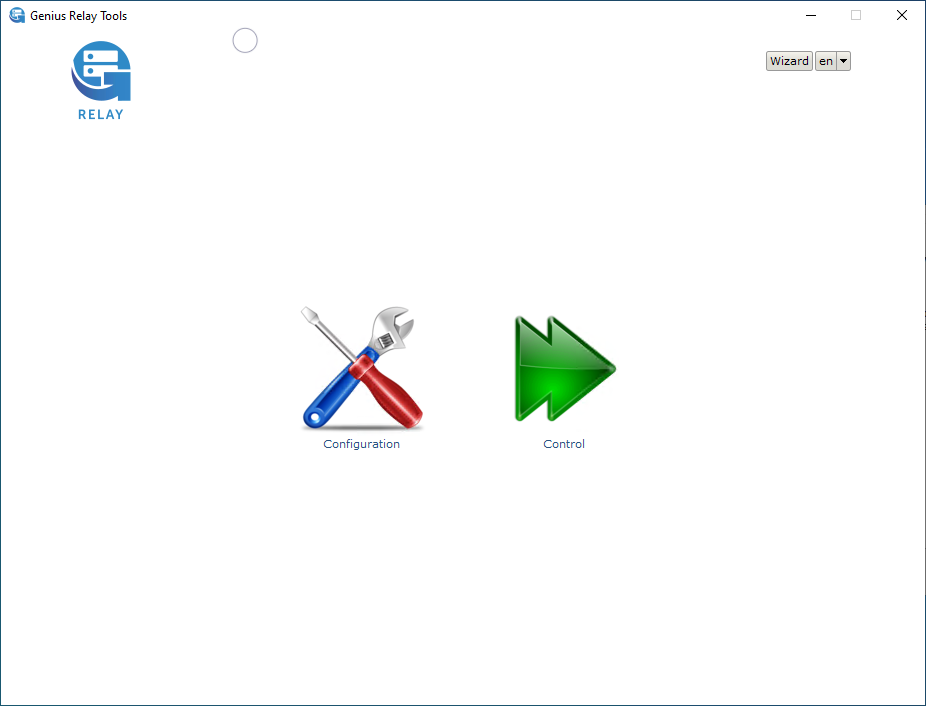
Select Standard Configuration.
Select Configuration.
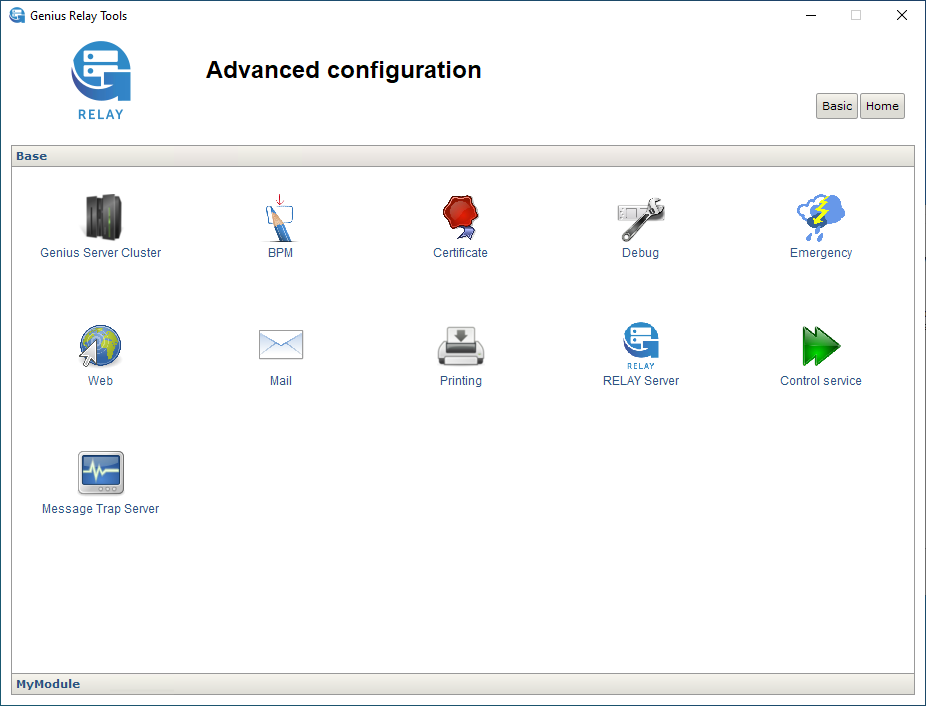
Switch to Advanced configuration and select Genius Server Cluster.
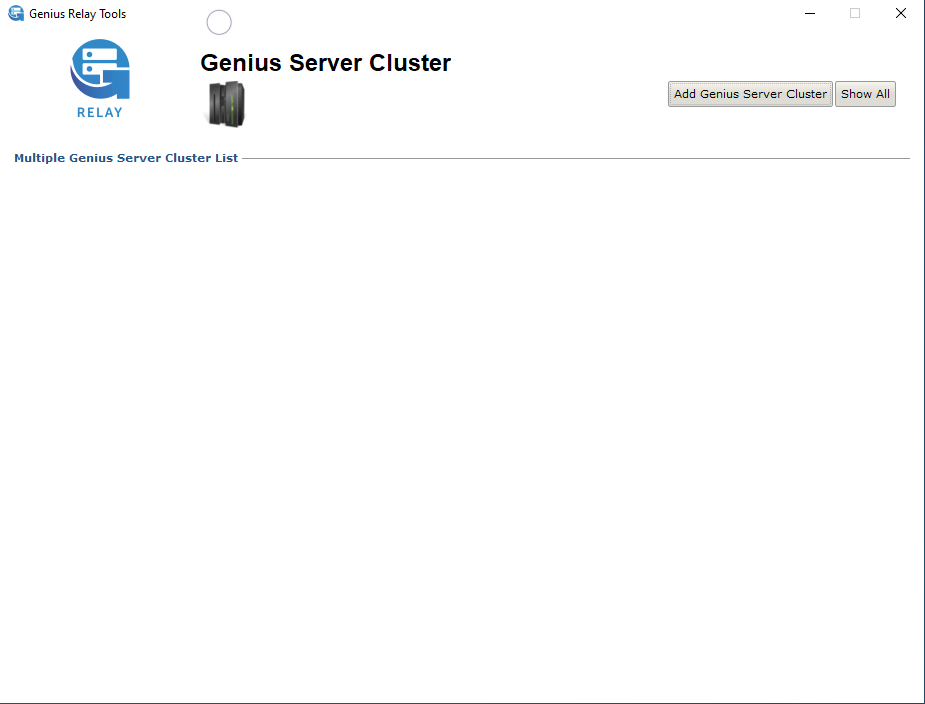
Press Add Genius Server Cluster.
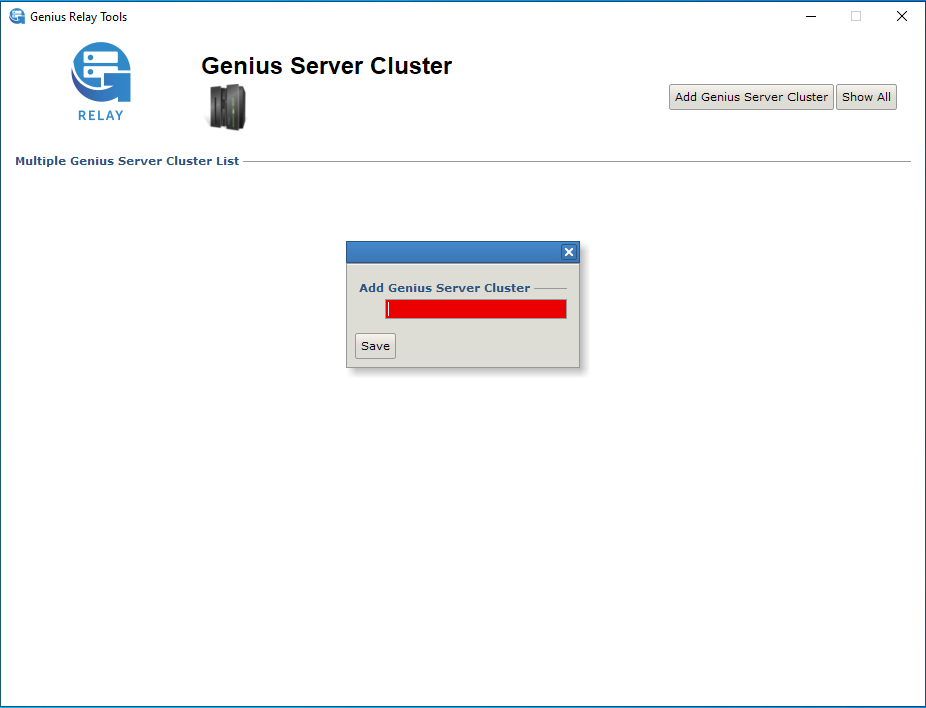
Enter a name and press Save.
In the Server primary field, enter the IP Address of the Genius Server and the press Save.
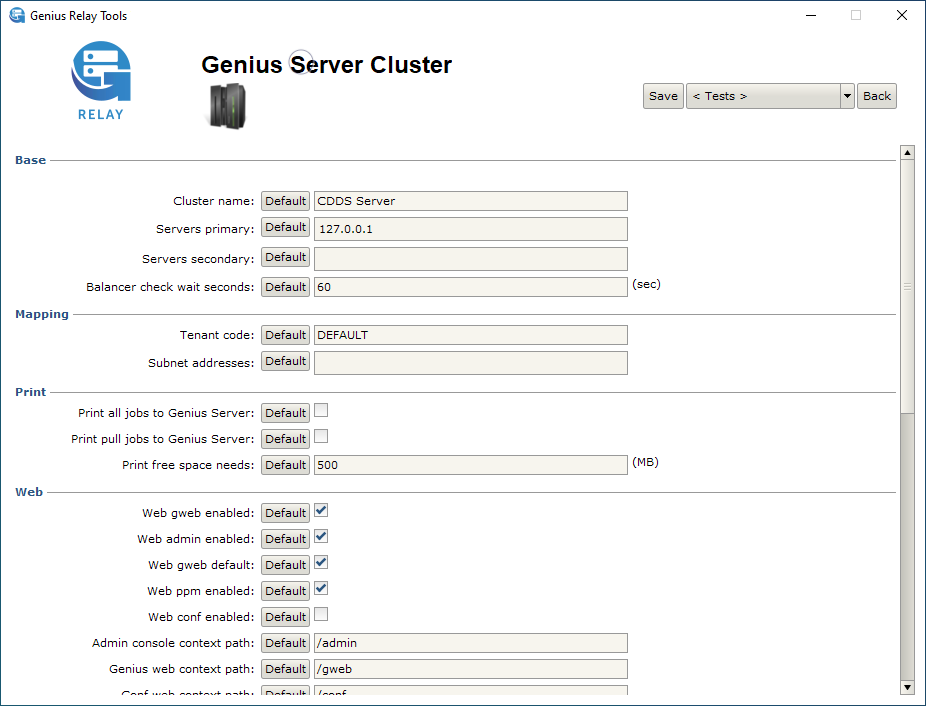
Now the Genius Relay is correctly configured.
For further details about the other settings, refer to the Configuration Tool chapter.
Configure Genius Relay for Multitenancy Environment
This chapter will assist you in configuring the Genius Relay for a multitenancy environment.
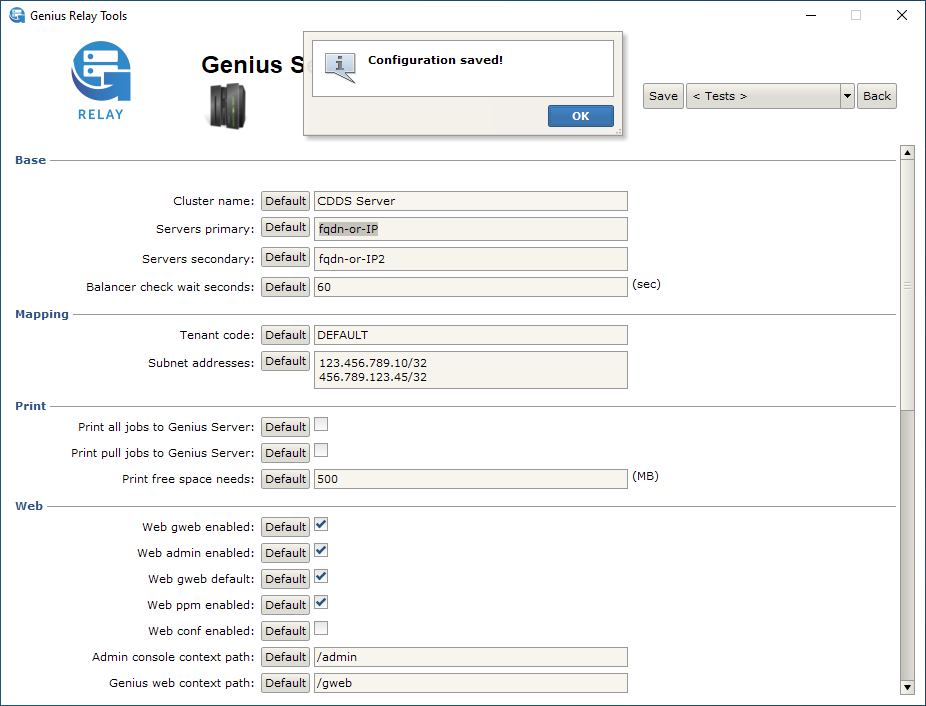
In a multitenancy environment, the Genius Relay can be the gateway for a lot of devices belonging to multiple different tenants. So, if a new device is added to the tenant's environment, and if multiple tenants are configured on the same Genius Relay, a subnet configuration or a list of IP addresses has to be configured to allow the Genius Relay to route network traffic from the device to the correct tenant and vice versa.
Since the majority of customers does not require this feature, the necessary jmx connection has been removed, but it can and should be added manually in above mentioned environments. This will allow the Genius Relay Configuration Tool to push changes to the Genius Server Cluster configuration to a relay without the requirement of a reboot of the relay.
Note
If the changes described below are not made, changes in the Genius Server Cluster menu will require a reboot of the Genius Relay service.
How to Configure the JMX Connection
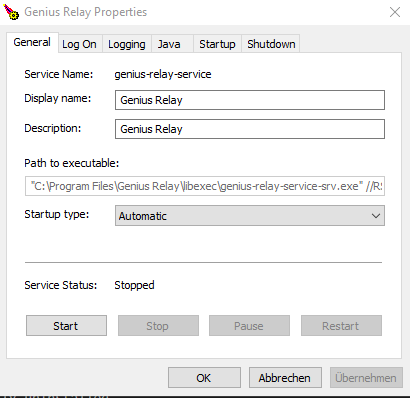
Access the folder where you installed Genius Relay and navigate to the bin folder. Per default, the path is
C:\Program Files\Genius Relay\bin.Right click "genius-relay-service.exe" and select open.
Open the Java tab and modify the java options. Add:
-Dcom.sun.management.jmxremote
-Dcom.sun.management.jmxremote.port=7070
-Dcom.sun.management.jmxremote.authenticate=false
-Dcom.sun.management.jmxremote.ssl=false
-Dcom.sun.management.jmxremote.local.only=true
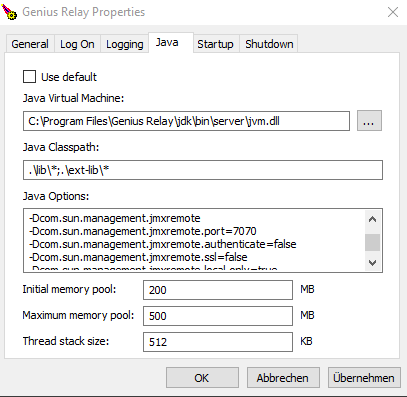
Click Apply to save the changes, then restart the Genius Relay service.
Now, a subnet configuration / a list of IP addresses can be added to the Genius Relay Configuration Tool, without the need of a serivce restart everytime.
Hazelcast Overview
Hazelcast is enabled by default and should not require much configuration. Please keep in mind that the following settings need to be configured. Refer the More on Hazelcast chapter for details about the service itself.
Ensure that Genius Relay can reach the Genius Server cluster nodes on the configured cluster port (5701).
Ensure that the primary Genius Server and the fallback Genius Server are entered in the fields Servers Primary and Servers Secondary
Check the Security section in the Genius Relay configuration tool:
Enable Encryption: if this is checked, encryption is enabled. The default is true.
Encryption Salt: the salt has to be the same for Genius Server and Genius Relay. If the salt or the cluster secret or both change, the Genius Server needs to be available after restart, befor the Genius Relay is started. So wait until the Genius Server is reachable before turning the Genius Relay back on.
Cluster secret: a password shared among cluster nodes to establish a communication between each other and with the Genius Relay. Needs to be the same on Genius Server and Genius Relay. If the salt or the cluster secret or both change, the Genius Server needs to be available after restart, befor the Genius Relay is started. So wait until the Genius Server is reachable before turning the Genius Relay back on.
System user: the system user. Set to myrelay.
Warning
Make sure that the Genius Server starts and is reachable, before restarting the Genius Relay when updating Genius Server and Genius Relay. If the relay starts before the server the environment will not work. If this happens, restart the relay again.
Genius Relay Uninstall
To uninstall the Genius Relay, right click the Windows Start Menu.
There select Apps and Features.
In Apps and Features search for Genius Relay.
Right-click on Genius Relay and choose Uninstall.
Once confirmed, the Genius Relay is successfully uninstalled.