
Security
Introduction
Every client can access an instance. Clients that share the same server (service provider) are called tenant and have their own tenant code to access the server and the database (e.g. a pull-printing list). Every tenant is composed of a group of users. So, users which belong to same group have a common access to the server, share both specif privileges and a software instance.
The security sections contains the configuration of Users and Groups.
Users
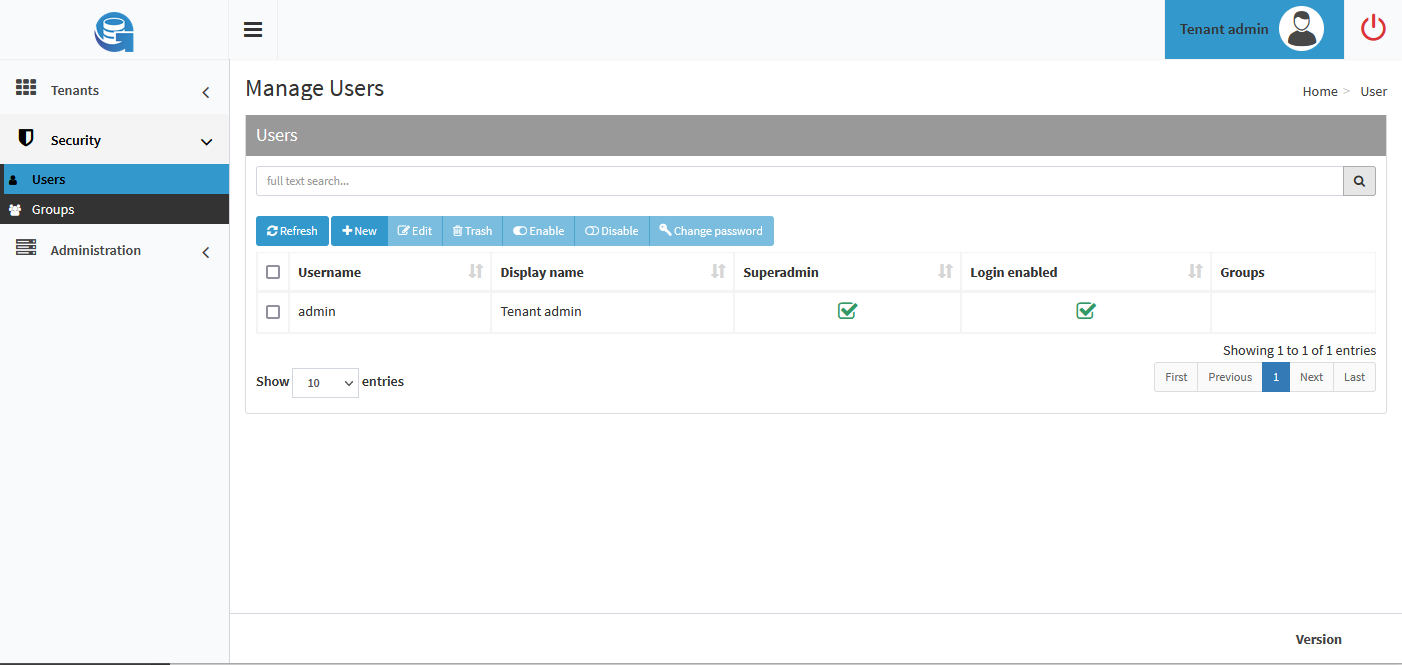
The users that can be added here are users who usually have admin rights. The administer specific tenants. To add a new user, press on the New button and fill in the configuration form:
Username: the name of the user.
Display name: the name shown on the user interface.
Email: the email address of the user.
Password: the password of the user.
Confirm Password: the password entered in the upper field.
Locale: the conf console language. At the moment, english, german and italian are supported.
Superadmin: if checked, the user becomes a superadmin.
Groups: assign the user to existing groups.
Note
To see a group in the user configuration, first create a group in the Groups section.
To save changes press the Save Changes button, then Back.
In the user overview, users can be edited (Edit), deleted (Trash), enabled (Enable), disabled (Disable) or have their passwords changed (Change Password)
The overview will also show if a user is a superadmin or not. To select multiple users check the checkboxes next to the users.
Groups
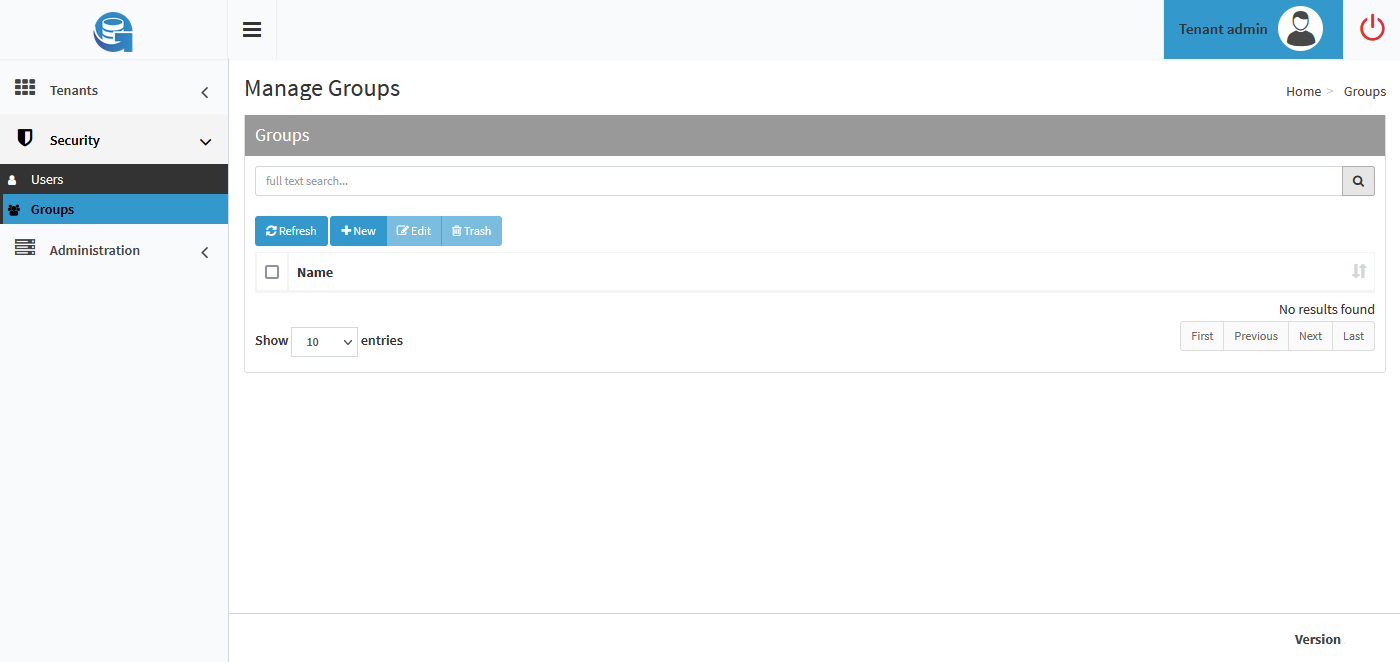
To add a new group, press on the New button, then choose a group name and select the action(s) users belonging to this group can perform.
To save changes press the Save Changes button, then Back.
To edit groups, select the group and click on the Edit button.
To delete groups, select the group and click on the Trash button.